Cloud Shell
Use the Azure Cloud Shell if you are looking for the quickest way to run Terraform on Azure.
Overview
Azure Cloud Shell is a browser-based shell that provides access to various tools and services for managing Azure resources, and includes common binaries including git, az, jq and terraform in its container image.
The Cloud Shell is ideal for quick demos, small test and dev projects, or for training groups. Many of the labs on this site assume Cloud Shell as it simplifies the pre-reqs.
Pros:
- Cloud Shell includes a recent version of Terraform
- Cloud Shell will automatically authenticate
- Cloud Shell saves the state file in Azure Storage blob
- Cloud Shell has the Monaco editor, with syntax highlighting for HCL files
Cons:
- Single user only; not designed for teams
- No control over Terraform version
- No sudo
- Unsuited to long sessions due to timeouts
Accessing Cloud Shell
Access the Azure Cloud Shell via >_ at the top of the Azure portal or via https://shell.azure.com.
-
Open Cloud Shell
These labs assume the Bash experience.
Upon first use, you’ll be prompted to create the Storage Account used to persist the home directory and cloudshell mount.
-
Check your subscription context.
az account showCheck that you are in the right subscription or switch.
Note that the command output includes
user.cloudShellID: true. It is assumed that you have Owner or Contributor on the subscription.
Create example files
We’ll run through a quick example, creating a resource group.
-
Make a working directory
mkdir terraform-envs -
Switch to it
cd ~/terraform-envs -
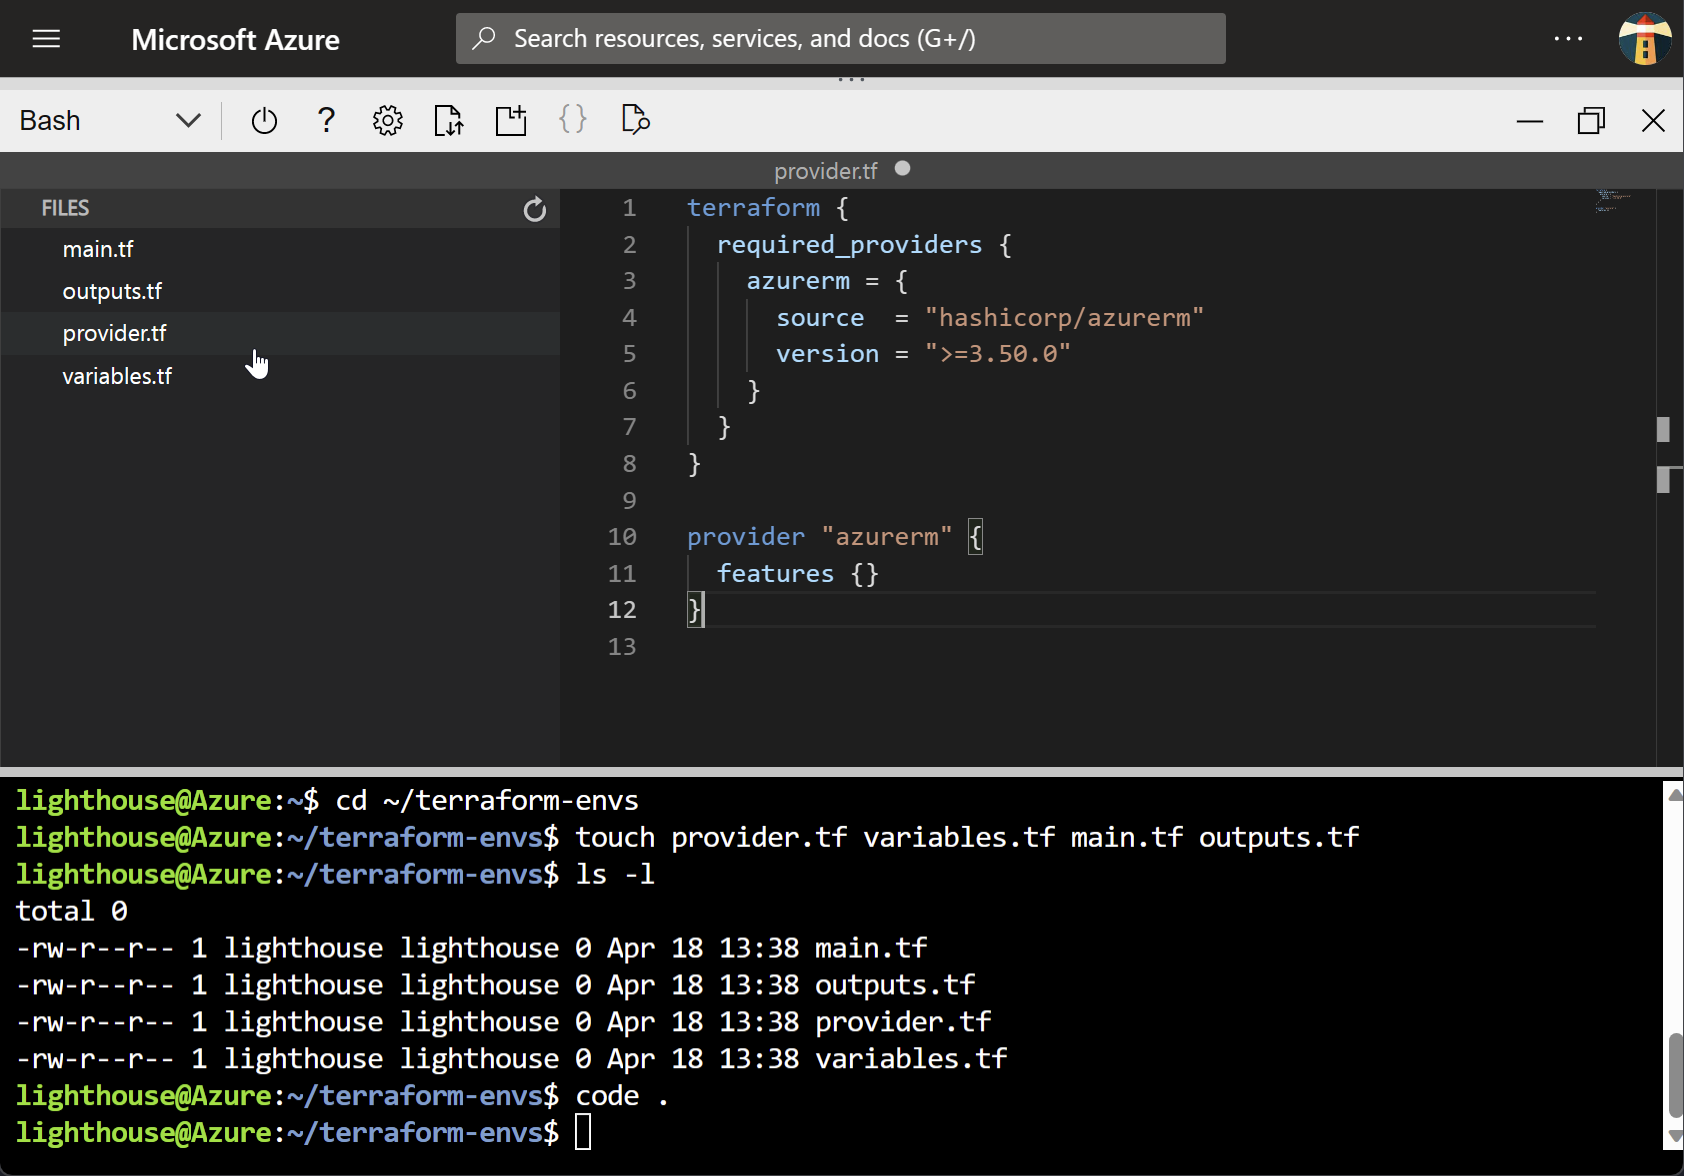
Create empty files
touch provider.tf variables.tf main.tf outputs.tf -
List the files
ls -l -
Open the editor
code . -
Select the provider.tf file in the file explorer pane
Note that the filename is now shown above the editing pane.
-
Paste the code below in the editing pane on the right
provider.tf
terraform {
  required_providers {
    azurerm = {
      source  = "hashicorp/azurerm"
      version = ">=3.50.0"
    }
  }
}

provider "azurerm" {
  features {}
}
Use
CTRL+Vto paste, orCTRL+SHIFT+Vto paste as text.Note the syntax highlighting.
-
Save
Press
CTRL+Sto save.Unsaved files have a dot on the filename tab. This will disappear once saved.
-
Repeat for the other files
variables.tf
variable "resource_group_name" {
  description = "Name for the resource group."
  type        = string
  default     = "myExampleResourceGroup"
}

variable "location" {
  description = "Azure region."
  type        = string
  default     = "UK South"
}
main.tf
resource "azurerm_resource_group" "example" {
  name     = var.resource_group_name
  location = var.location
}
outputs.tf
output "id" {
  value = azurerm_resource_group.example.id
}
Don’t forget to use
CTRL+S.
Terraform workflow
Run through the standard Terraform workflow.
-
Initialise
terraform initThe azurerm provider will be downloaded locally.
-
Plan
terraform planThe config plan shows a single resource group in uksouth called myExampleResourceGroup.
-
Apply
terraform applyRespond “yes” when prompted to create the empty resource group.
-
Destroy
terraform destroyThe resource group is removed.
Summing up
Cloud Shell is great for the quick and dirty work, and for use in training. It has most of what you need, and is always accessible if you have a network connection.
However, if you are doing a lot of work then you may want a fuller setup directly on your machine. In the next environment we’ll
- install a set of tools
- deploy using a service principal
- store the state file in Azure