Azure Citadel
  • Blogs

  • ARM
  • Azure Arc
    • Overview
    • Azure Arc-enabled Servers
      • Prereqs
      • Scenario
      • Hack Overview
      • Azure Landing Zone
      • Arc Pilot resource group
      • Azure Monitoring Agent
      • Additional policy assignments
      • Access your on prem VMs
      • Create onboarding scripts
      • Onboarding using scripts
      • Inventory
      • Monitoring
      • SSH
      • Windows Admin Center
      • Governance
      • Custom Script Extension
      • Key Vault Extension
      • Managed Identity
    • Azure Arc-enabled Kubernetes
      • Prereqs
      • Background
      • Deploy Cluster
      • Connect to Arc
      • Enable GitOps
      • Deploy Application
      • Enable Azure AD
      • Enforce Policy
      • Enable Monitoring
      • Enable Azure Defender
      • Enable Data Services
      • Enable Application Delivery
    • Useful Links
  • Azure CLI
    • Install
    • Get started
    • JMESPATH queries
    • Integrate with Bash
  • Azure Landing Zones
    • Prereqs
    • Day 1
      • Azure Baristas
      • Day 1 Challenge
    • Day 2
      • Example
      • Day 2 Challenge
    • Day 3
      • Day 3 Challenge
    • Useful Links
  • Azure Policy
    • Azure Policy Basics
      • Policy Basics in the Azure Portal
      • Creating Policy via the CLI
      • Deploy If Not Exists
      • Management Groups and Initiatives
    • Creating Custom Policies
      • Customer scenario
      • Policy Aliases
      • Determine the logic
      • Create the custom policy
      • Define, assign and test
  • Azure Stack HCI
    • Overview
    • Useful Links
    • Updates from Microsoft Ignite 2022
  • Marketplace
    • Introduction
      • Terminology
      • Offer Types
    • Partner Center
    • Offer Type
    • Publish a VM Offer HOL
      • Getting Started
      • Create VM Image
      • Test VM Image
      • VM Offer with SIG
      • VM Offer with SAS
      • Publish Offer
    • Other VM Resources
    • Publish a Solution Template HOL
      • Getting Started
      • Create ARM Template
      • Validate ARM Template
      • Create UI Definition
      • Package Assets
      • Publish Offer
    • Publish a Managed App HOL
      • Getting Started
      • Create ARM Template
      • Validate ARM Template
      • Create UI Definition
      • Package Assets
      • Publish Offer
    • Managed Apps with AKS HOL
    • Other Managed App Resources
    • SaaS Offer HOLs
    • SaaS Offer Video Series
      • Video 1 - SaaS Offer Overview
      • Video 2 - Purchasing a SaaS Offer
      • Video 3 - Purchasing a Private SaaS Plan
      • Video 4 - Publishing a SaaS Offer
      • Video 5 - Publishing a Private SaaS Plan
      • Video 6 - SaaS Offer Technical Overview
      • Video 7 - Azure AD Application Registrations
      • Video 8 - Using the SaaS Offer REST Fulfillment API
      • Video 9 - The SaaS Client Library for .NET
      • Video 10 - Building a Simple SaaS Landing Page in .NET
      • Video 11 - Building a Simple SaaS Publisher Portal in .NET
      • Video 12 - SaaS Webhook Overview
      • Video 13 - Implementing a Simple SaaS Webhook in .NET
      • Video 14 - Securing a Simple SaaS Webhook in .NET
      • Video 15 - SaaS Metered Billing Overview
      • Video 16 - The SaaS Metered Billing API with REST
  • Microsoft Fabric
    • Theory
    • Prereqs
    • Fabric Capacity
    • Set up a Remote State
    • Create a repo from a GitHub template
    • Configure an app reg for development
    • Initial Terraform workflow
    • Expanding your config
    • Configure a workload identity
    • GitHub Actions for Microsoft Fabric
    • GitLab pipeline for Microsoft Fabric
  • Packer & Ansible
    • Packer
    • Ansible
    • Dynamic Inventories
    • Playbooks & Roles
    • Custom Roles
    • Shared Image Gallery
  • Partner
    • Lighthouse and Partner Admin Link
      • Microsoft Cloud Partner Program
      • Combining Lighthouse and PAL
      • Minimal Lighthouse definition
      • Using service principals
      • Privileged Identity Management
    • Useful Links
  • REST API
    • REST API theory
    • Using az rest
  • Setup
  • Terraform
    • Fundamentals
      • Initialise
      • Format
      • Validate
      • Plan
      • Apply
      • Adding resources
      • Locals and outputs
      • Managing state
      • Importing resources
      • Destroy
    • Working Environments for Terraform
      • Cloud Shell
      • macOS
      • Windows with PowerShell
      • Windows with Ubuntu in WSL2
    • Using AzAPI
      • Using the REST API
      • azapi_resource
      • Removing azapi_resource
      • azapi_update_resource
      • Data sources and outputs
      • Removing azapi_update_resource
  • Virtual Machines
    • Azure Bastion with native tools & AAD
    • Managed Identities

  • About
  • Archive
  1. Home
  2. Terraform
  3. Using AzAPI
  4. azapi_resource

Table of Contents

  • Introduction
  • Pre-reqs
  • Initial configuration
  • azapi_resource
  • Check
  • Summary

azapi_resource

Add an azapi_resource block into your Terraform config to create the Web PubSub resource.

Introduction

Date Description
2021-04-29 Azure Web PubSub in Public Preview
2021-08-02 Developers start testing the preview functionality
2021-11-16 Azure Web PubSub goes GA
2021-12-06 Developers ask to include Web PubSub in the Terraform config

The developers would like to have the Web PubSub resource created by Terraform. Unfortunately it is not yet showing as a resource type in the docs for azurerm v2.93.

Still, you know how to drive Web PubSub creation using the REST API. Time to create an azapi_resource as a small proof of concept.

Pre-reqs

  1. Azure subscription
  2. Microsoft.SignalRService provider is registered
  3. Existing resource group

The examples use “myResourceGroup”

Initial configuration

These labs will use a single main.tf file throughout so that all of the changes are in one place. A common convention is to have separate files for Terraform, e.g. provider.tf, variables.tf, main.tf, outputs.tf.

  1. Create a working directory

    mkdir ~/azapi-labs
    
  2. Change directory

    cd ~/azapi-labs
    
  3. Create a main.tf

    Copy in the code block below and save.

    terraform {
      required_providers {
        azurerm = {
          source  = "hashicorp/azurerm"
          version = "=2.93"
        }
      }
    }
    
    provider "azurerm" {
      features {}
    }
    
    resource "azurerm_resource_group" "azapi_labs" {
      name     = "azapi_labs"
      location = "West Europe"
    }
    

    Note that the azurerm provider is pinned to v2.93.

  4. Initialise

    terraform init
    
  5. Apply

    terraform apply
    

azapi_resource

When creating the azapi_resource, you can either specify the location as an argument or embed it into the JSON.

There are a few options for the JSON body. The recommended approaches are to use either the jsonencode() function, or the file() or templatefile() functions.

In this lab we will use jsonencode, but for large sections of JSON then using files can make your config more readable. See this repo for an example using templatefile() to create a Data Collection Rule for Azure Monitor.

  1. Add azapi to the required providers

    Update the required_providers block in main.tf:

    terraform {
      required_providers {
        azurerm = {
          source  = "hashicorp/azurerm"
          version = "=2.93"
        }
    
        azapi = {
          source  = "azure/azapi"
          version = "=0.3.0"
        }
      }
    }
    
  2. Add the azapi provider block

    provider "azapi" {}
    
  3. Add the azapi_resource block

    resource "azapi_resource" "webpubsub" {
      type      = "Microsoft.SignalRService/WebPubSub@2021-10-01"
      name      = "azapi-labs-richeney"
      parent_id = azurerm_resource_group.azapi_labs.id
      location  = azurerm_resource_group.azapi_labs.location
    
      body = jsonencode({
        sku = {
          name = "Free_F1"
          capacity = 1
        }
      })
    }
    

    ⚠️ You should select a different and globally unique value for name as it forms part of the FQDN.

    Note how the URL maps to the arguments. Here is the REST API URI to match the block:

    https://management.azure.com/subscriptions/2d31be49-d959-4415-bb65-8aec2c90ba62/resourceGroups/azapi_labs/providers/Microsoft.SignalRService/webPubSub/azapi-labs-richeney?api-version=2021-10-01
    

    And here is the original JSON block from the REST API call. Note the change in format to HCL in the resource block above:

    {
      "sku": {
        "name": "Free_F1",
        "capacity": 1
      },
      "location": "westeurope"
    }
    

    The benefit of using jsonencode() is that Terraform will confirm that the output JSON is syntactically valid.

  4. Initialise

    terraform init
    

    You need to reinitialise Terraform as you have now included a new provider. The init will download it.

  5. Plan

    terraform plan
    
  6. Apply

    terraform apply
    

Check

Terraform uses the azapi provider to create the Web PubSub resource.

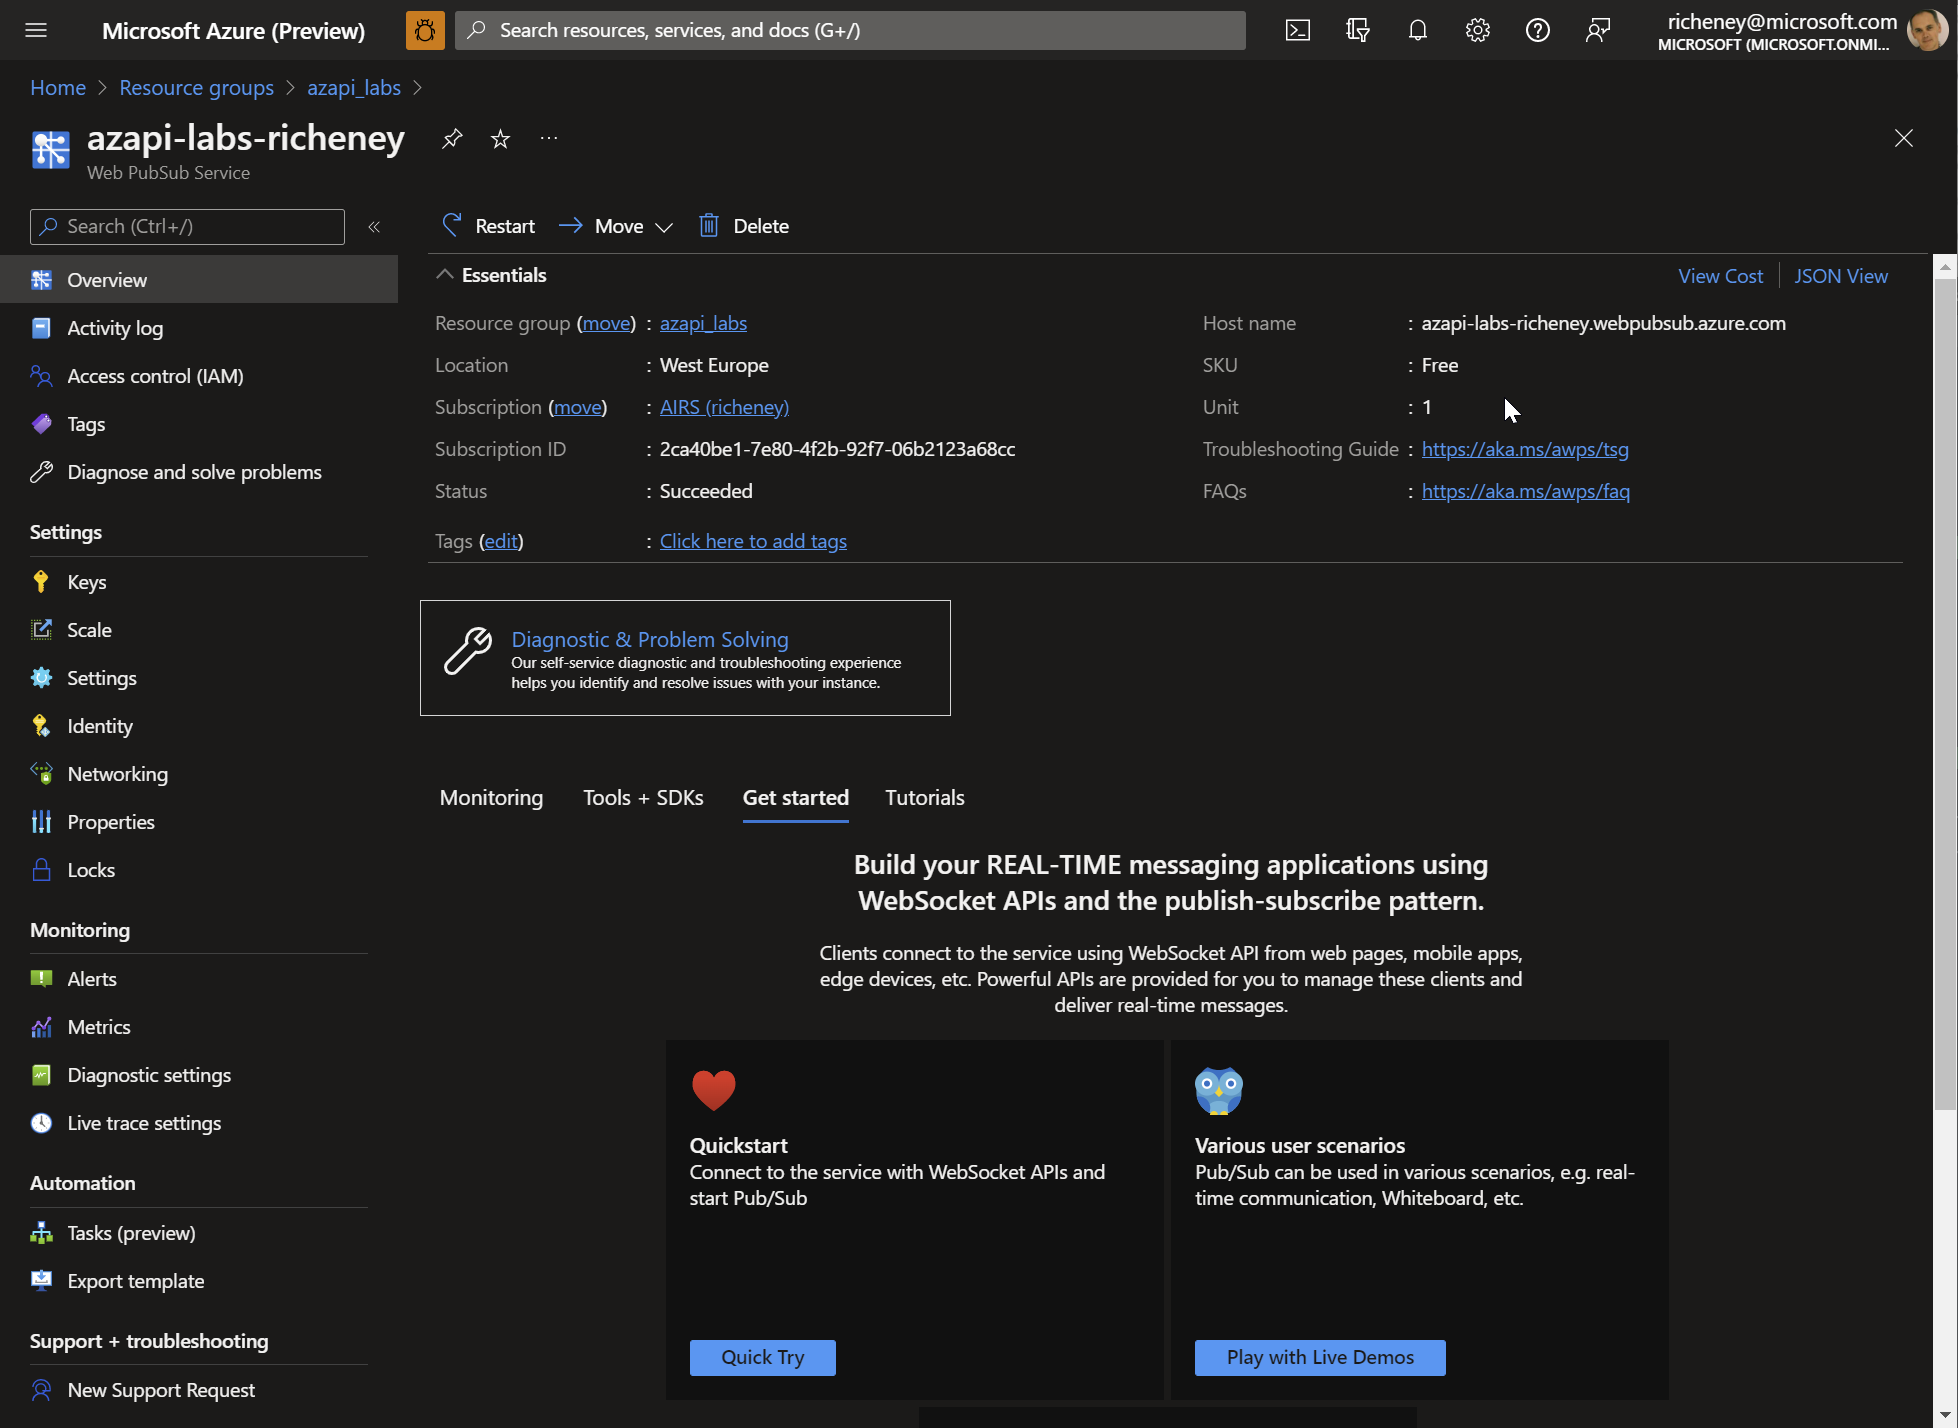
  1. Check for the resource in the portal

    azapi_resource

  2. List the identifiers in state

    terraform state list
    

    Example output:

    azapi_resource.webpubsub
    azurerm_resource_group.azapi_labs
    
  3. Display the resource attributes from state

    terraform state show azapi_resource.webpubsub
    

    Example output:

    # azapi_resource.webpubsub:
    resource "azapi_resource" "webpubsub" {
        body                      = jsonencode(
            {
                sku = {
                    capacity = 1
                    name     = "Free_F1"
                }
            }
        )
        id                        = "/subscriptions/2ca40be1-7e80-4f2b-92f7-06b2123a68cc/resourceGroups/azapi_labs/providers/Microsoft.SignalRService/WebPubSub/azapi-labs-richeney"
        ignore_casing             = false
        ignore_missing_property   = false
        location                  = "westeurope"
        name                      = "azapi-labs-richeney"
        output                    = jsonencode({})
        parent_id                 = "/subscriptions/2ca40be1-7e80-4f2b-92f7-06b2123a68cc/resourceGroups/azapi_labs"
        schema_validation_enabled = true
        tags                      = {}
        type                      = "Microsoft.SignalRService/WebPubSub@2021-10-01"
    }
    

Summary

You have successfully used the azapi provider to create a resource via the REST API.

Note that you can also use azapi_resource to create child resources. An example would be the Web Pub Sub Hubs. The parent_id in this case would be the Web Pub Sub resource ID rather than the resource ID for the resource group.

Let’s go forward in time a couple of months, to the release of v2.94, and see how to switch from azapi to a native resource definition.

Using the REST API azapi_resource Removing azapi_resource